Dokumentasjon
Kom i gang
Installer Aurora i en Laravel-app og logg inn for første gang.
What you need
- PHP 8.3 or newer and a Laravel 13 application
- A database Laravel supports (SQLite is fine to start with)
- Node.js, to build the admin theme
Install the package
Add Aurora with Composer, then run the installer. It asks a few questions (the site name, its language, your admin account) and sets up the database, roles and permissions.
$ composer require aurora/cms
$ php artisan aurora:installSign in
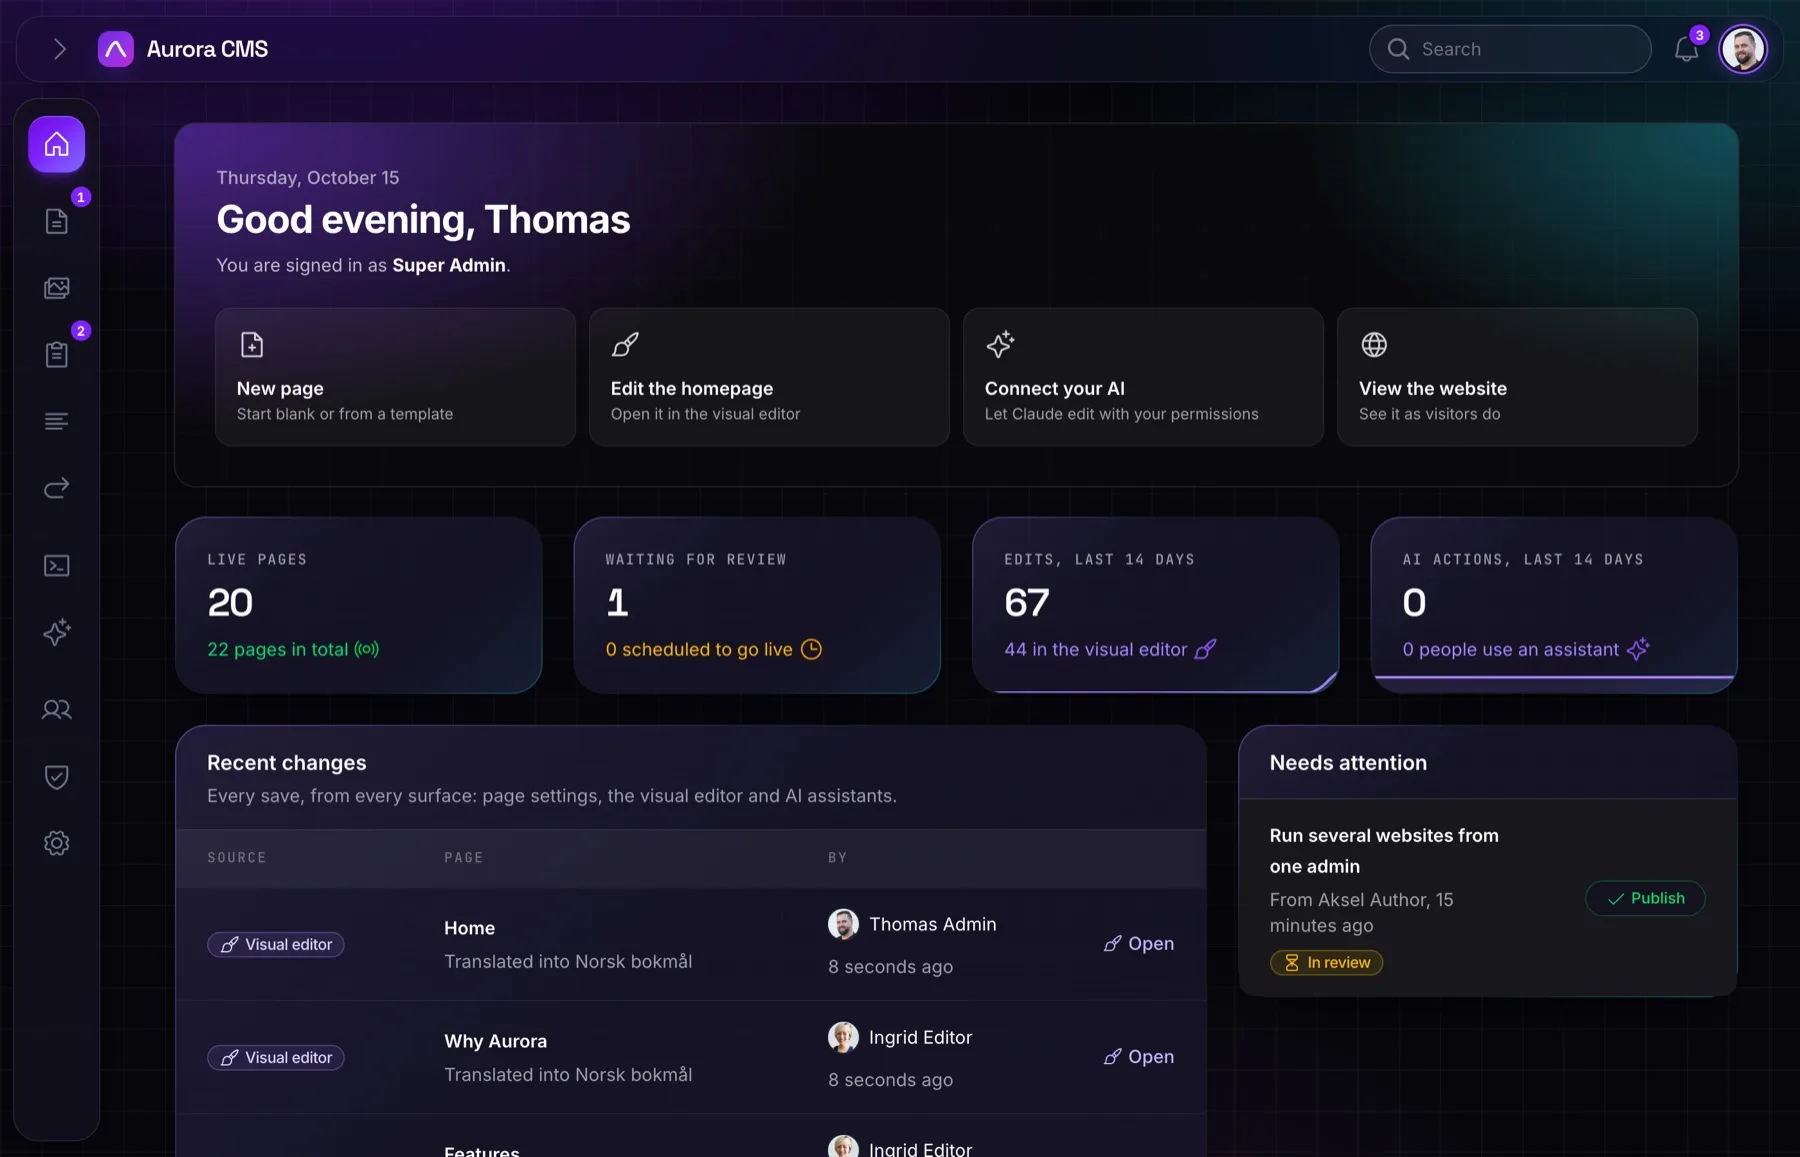
Open /admin and sign in with the account the installer created. You land on the dashboard: recent changes, pages waiting for review and the newest form submissions.
Draw your pages
Each page picks a layout (Standard, Landing page, Minimal, or one of your own under Pages › More › Layouts), and each layout is a Blade view. The installer publishes Aurora's to resources/views/vendor/aurora/layouts: make them yours there. A view gets the page, and <x-aurora::blocks> renders its blocks in the language being shown; everything around them (your header, footer and styles) is yours.
<x-layouts.site :title="$page->seoTitle()">
    <x-aurora::blocks :page="$page" />
</x-layouts.site>Configure
Publish the config file to change the CMS's name, its admin theme and more:
$ php artisan vendor:publish --tag=aurora-configreturn [
'name' => env('AURORA_NAME', 'Aurora CMS'),
];